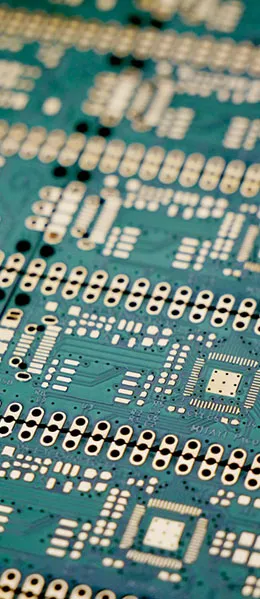
PCB reverse engineering refers to the process of reverse-engineering existing electronic products or physical circuit boards. Unlike PCB design, PCB reverse engineering is a reverse-engineering method. Through a series of reverse-engineering techniques, including the use of specialized PCB schematic reverse-engineering software, a complete set of production materials—such as PCB files, BOMs, and schematic files—is derived for use in the product cloning process. Through years of PCB reverse engineering practice, Jingpeng Electronics has accumulated extensive experience and mastered over a hundred reverse-engineering methods. Combined with the latest PCB schematic reverse-engineering software, we can provide clients with a wide range of services, including reverse-engineering and modification of high-frequency board schematics, reverse-engineering design, reverse-engineering of schematics for multilayer blind-via boards, reverse-engineered schematics for 8-layer server motherboards, and reverse-engineered schematics for PCBs with 10 or more layers.

Points to Note During the PCB Reverse Engineering Process
While performingPCB Reverse EngineeringThere are several key points to keep in mind during this process. Below are some insights summarized by Jingpeng Electronics, which we hope will be helpful to engineers working on PCB reverse engineering projects.
1. Reasonably divide the space into functional zones
When reverse-engineering a PCB schematic, properly dividing the board into functional zones can help engineers avoid unnecessary complications and improve design efficiency. Generally, components with the same function are grouped together on a PCB; this functional division provides a convenient and accurate basis for reverse-engineering the schematic. However, this division of functional zones is not arbitrary. It requires engineers to have a certain level of understanding of electronic circuits. First, identify the core component of a functional unit, then use routing connections to locate other components within the same functional unit, thereby forming functional zones. The creation of these functional zones serves as the foundation for schematic design. Additionally, skillfully utilizing the number of components on the board during the functional zoning process helps expedite the process.
2. Reference Alignment
Reference components can be considered the primary components used at the start of schematic drawing. Once the reference components are identified, the schematic can be drawn based on their pinouts, ensuring the highest possible accuracy. For engineers, identifying reference components is not particularly complicated. Generally, components that play a major role in the circuit are selected as reference components. These are typically larger in size and have more pins, making them easier to draw. For example, integrated circuits, transformers, and crystal oscillators can all serve as suitable reference components.
3. Correctly identify the circuits and draw the wiring diagram appropriately
To distinguish between ground wires, power lines, and signal lines, engineers must also possess relevant knowledge of power supplies, circuit connections, and PCB layout. These circuits can be differentiated by analyzing the connections between components, circuit widths, and other characteristics of the copper foil and electronic products. In layout diagrams, to avoid crossing or intertwining of lines, ground lines can be indicated using numerous ground symbols, while different types of lines can be represented by lines of different colors to ensure clear identification. Components can also be marked with special symbols, and even individual circuit units can be drawn separately before being combined into the final layout.
4. Understand the basic framework and draw on similar schematics
Engineers must be proficient in the basic structure of electronic circuits and the drafting of schematics. They should not only be able to directly sketch the basic configurations of simple, classic unit circuits but also construct the overall framework of electronic circuits. Furthermore, since PCB products of the same type share certain similarities in their schematics, engineers can draw extensively on similar circuit diagrams and use their accumulated experience to reverse-engineer the schematics for new products.
5. Check and Optimize
Once the schematic is complete and has been tested and verified, the reverse engineering of the PCB schematic can be considered complete. It is necessary to check and optimize the nominal values of components that are sensitive to distributed parameters on the PCB. Based on the PCB file diagram, the schematic must be compared, analyzed, and reviewed to ensure it is fully consistent with the file diagram. If the schematic layout is found to be non-compliant with requirements during the review, adjustments will be made to the schematic until it is completely reasonable, standardized, accurate, and clear.
Conclusion
PCB reverse engineering, as a method of reverse engineering, plays a crucial role in the cloning and R&D of electronic products. By appropriately dividing functional zones, aligning reference components, correctly distinguishing between circuits, drawing the layout logically, and understanding the basic framework while drawing on similar schematics, engineers can more effectively complete PCB reverse engineering tasks. At the same time, the process of verification and optimization is a crucial step in ensuring the accuracy of the schematic.